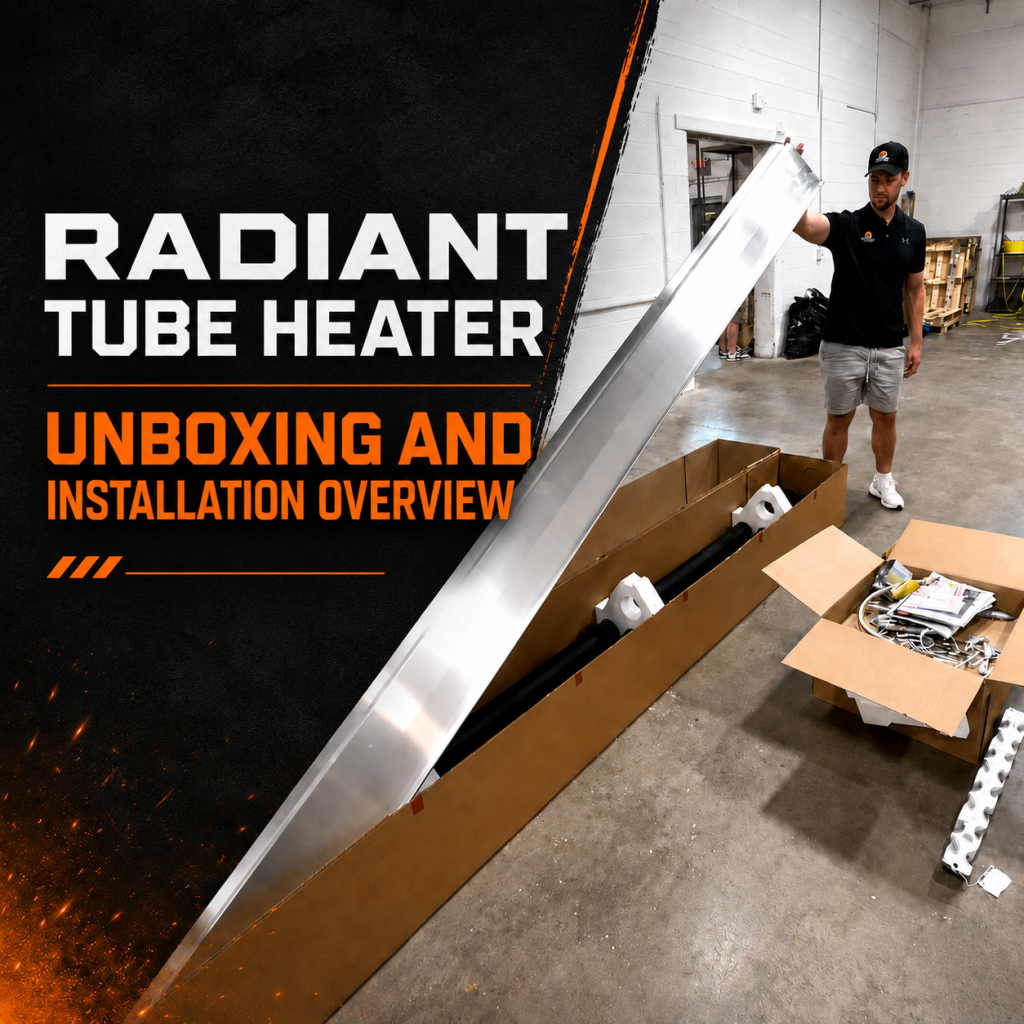
Radiant Tube Heater Unboxing and Installation Overview
Introduction
If you are getting ready to install a radiant tube heater in a garage, shop, barn, or warehouse, the first step is knowing exactly what you are working with. A clean install starts with understanding the heater model, the hardware in the kit, and a few details that can save time and prevent mistakes once the heater goes up.
This walkthrough covers the components that come with a typical radiant tube heater kit and highlights the things to check before installation begins.
Start With The Burner Box Label
Before opening everything up, look at the label on the burner box. That label tells you several important things about the unit.
- Series: In this case, the heater is an HL3 series.
- Fuel type: An N indicates natural gas. If it were marked with a P, it would be propane.
- Length: This unit is a 30 foot system.
- Firing rates: It is a two-stage heater rated at 125,000 BTUs on high fire and 80,000 BTUs on low fire.
That two-stage setup means the heater can run at two different output levels, which is useful for maintaining comfort and improving efficiency in many applications. It is one of the reasons this style of heater is such a popular option for larger indoor spaces.
Why The HL3 Series Stands Out
The HL3 is a common choice for radiant heat installations because it gives you the flexibility of high fire and low fire operation in a straightforward package. For anyone heating a workshop, warehouse, or similar space, that matters. You get strong output when the building needs recovery heat, and a lower operating stage when less heat is required.
For installers and building owners alike, it is a practical setup that balances performance and control.
What Comes in The Box
Once the unit is opened, you can separate the components into a few main groups: the burner assembly, the baffles, the installation hardware, and the tube and reflector sections.
The Baffles
The baffles are included in the package and are an important part of the heater system. They affect how the heater performs and need to be installed correctly in the tube system. Even though they are small compared to the rest of the equipment, they are not something to overlook.
If your kit includes them, confirm they are present before the install starts so you are not searching for them later.
The Burner Box
The burner box is the core of the system. This is the section where the gas connection and electrical connections are made. It is the starting point of the heater assembly and the component that drives the entire radiant tube system.
Because both fuel and power tie into this section, it is one of the most important parts to identify and handle carefully during installation.
The Installation Kit
The installation kit contains the supporting hardware that makes the full assembly possible. While it may look like a box of miscellaneous parts at first, each piece has a specific role.
Typical contents include:
- Hanging hardware
- Tube clamps
- A flexible gas connector for the back of the burner box
- Electrical accessories for thermostat wire connections
- Manuals and warning materials
Do Not Skip The Manuals
Most units include two manuals, and both matter.
- General tube heater manual: This is the one you will use most often during the install.
- Series specific insert manual: This contains information that applies specifically to the HL3 model.
The general manual typically covers the broader installation process. The series specific insert is where you will often find details that are easy to miss, especially around wiring, baffle placement, and model-specific setup requirements.
It is worth taking a few minutes to go through both before anything gets hung.
Warnings and Clearances Matter
One of the biggest safety points with any gas-fired radiant tube heater is clearance to combustibles. The warning material included with the heater is not filler. It is essential installation information.
Radiant heaters are often installed in garages, shops, barns, and industrial spaces where stored materials, tools, shelving, or vehicles may be nearby. Proper spacing from combustible materials is critical for safe operation.
Before installation, verify:
- The required clearances around the heater
- The mounting location in relation to walls and ceilings
- Any nearby materials that could create a hazard
- That the install plan matches the manufacturer’s instructions
The Hanging Hardware and Clamps
The hanging hardware is what supports the heater once it is suspended. During installation, these pieces tie the heater system together and keep the tubes and reflectors aligned.
The clamps in the kit are used throughout the tube assembly. On lower BTU systems like this 125,000 BTU model, all the clamps are the same style. That keeps things simple.
Still, it is a good idea to lay them out before starting so you know what you have and where each part will go.
The Flexible Gas Connector
The flexible connector attaches at the back of the burner box and is used as part of the gas line connection. This piece is installed later in the process, but it should be identified early so it does not get mistaken for extra hardware.
Any gas connection work should be done carefully and according to code, with close attention to the manufacturer’s instructions and fuel type.
Electrical Accessories for Thermostat Wiring
The kit also includes small electrical parts used when connecting thermostat wire to the back of the burner box. These are easy to overlook because they are small, but they are necessary for completing the control wiring properly.
When unpacking, keep these pieces together rather than leaving them loose in the box or on the floor. It makes the later wiring steps much easier.
The Tubes and Reflectors
This 30 foot radiant tube heater includes three 10 foot tubes and three reflectors.
The reflectors are usually stacked tightly together, which can make them appear like a single piece at first glance. They are not. They are layered, and they can be sharp along the edges.
A few practical tips:
- Handle reflectors carefully to avoid cuts.
- If the stacked pieces are stuck together, gently separate them with a tool such as a screwdriver.
- Keep the tube sections organized in installation order before hanging them.
Taking a moment to sort the tubes and reflectors on the ground can make the overhead assembly much cleaner.
A Key Difference on Higher BTU Radiant Tube Heaters
Not every heater kit is identical. If you move into a larger system, especially 150,000 BTUs or above, there are a couple of differences to look for.
The Combustion Tube
On certain higher output systems, the first 10 foot tube connected to the burner box is a special combustion tube. It is identified with an orange sticker.
This 125,000 BTU heater does not include that tube, so there is no orange sticker in this kit. But if you are working with a larger 40 foot unit or a higher BTU model, that marked tube matters. It needs to be placed first, directly after the burner box.
The Different Clamp
High BTU systems may also include one clamp that looks different from the others. It is often shinier and stands out from the standard clamps in the box.
On those systems, that special clamp goes after the first 10 foot section. Since this heater is under 150,000 BTUs, every clamp in the kit matches and there is no special stainless clamp to sort out.
This is one of those details that can save confusion during installation. If one clamp looks noticeably different, do not assume it was packed by mistake.
Before Installation, Do This Quick Checklist
Before lifting anything into place, it helps to do a basic inventory and confirm the setup.
- Verify the heater series, fuel type, length, and BTU rating on the burner box label.
- Confirm whether the unit is single-stage or two-stage.
- Locate both manuals and keep them accessible.
- Identify the baffles and set them aside for proper installation.
- Lay out the hanging hardware, clamps, gas connector, and electrical accessories.
- Separate the reflectors carefully and inspect the tube sections.
- Check whether the unit includes any special high-BTU components such as a marked combustion tube or different clamp.
- Review all warnings, especially clearance to combustibles.
Why This Prep Work Matters
Radiant tube heater installation goes much smoother when the unboxing is done with purpose. Instead of opening cartons and figuring things out one piece at a time from a lift, you already know what each part is, what it does, and whether your unit has any model-specific differences.
That saves time, reduces mistakes, and helps keep the install safe.
Final Thoughts
A radiant tube heater may look straightforward once it is hanging, but the details in the box tell you a lot about how the install needs to go. The label on the burner box confirms the heater configuration. The manuals provide model-specific guidance. The hardware, tubes, baffles, and reflectors all need to be identified and organized before the assembly begins.
For anyone installing a gas-fired radiant heater in a garage, shop, warehouse, or barn, this kind of preparation is not extra work. It is part of doing the job right.
Need Help Planning or Installing a Radiant Tube Heater?
If you’re getting ready to install a radiant tube heater in a garage, shop, barn, warehouse, or commercial space, the details matter before the heater ever goes in the air.
At Great Lakes Radiant, we help walk through real-world radiant heating applications every day. From reviewing heater models, BTU ratings, fuel type, tube length, clearances, baffle placement, venting, controls, and installation requirements, we’ll help you make sure the system is set up correctly from the start.
Whether you’re unboxing a new heater, confirming what comes in the kit, planning the layout, or trying to avoid mistakes during installation, we’ll help you get it right the first time.
Send us photos, dimensions, construction documents, heater model information, or fill out our Project Details form — we’re here to help.
📞 (888) 501-0252
📧 sales@glradiant.com
🌐 www.glradiant.com