
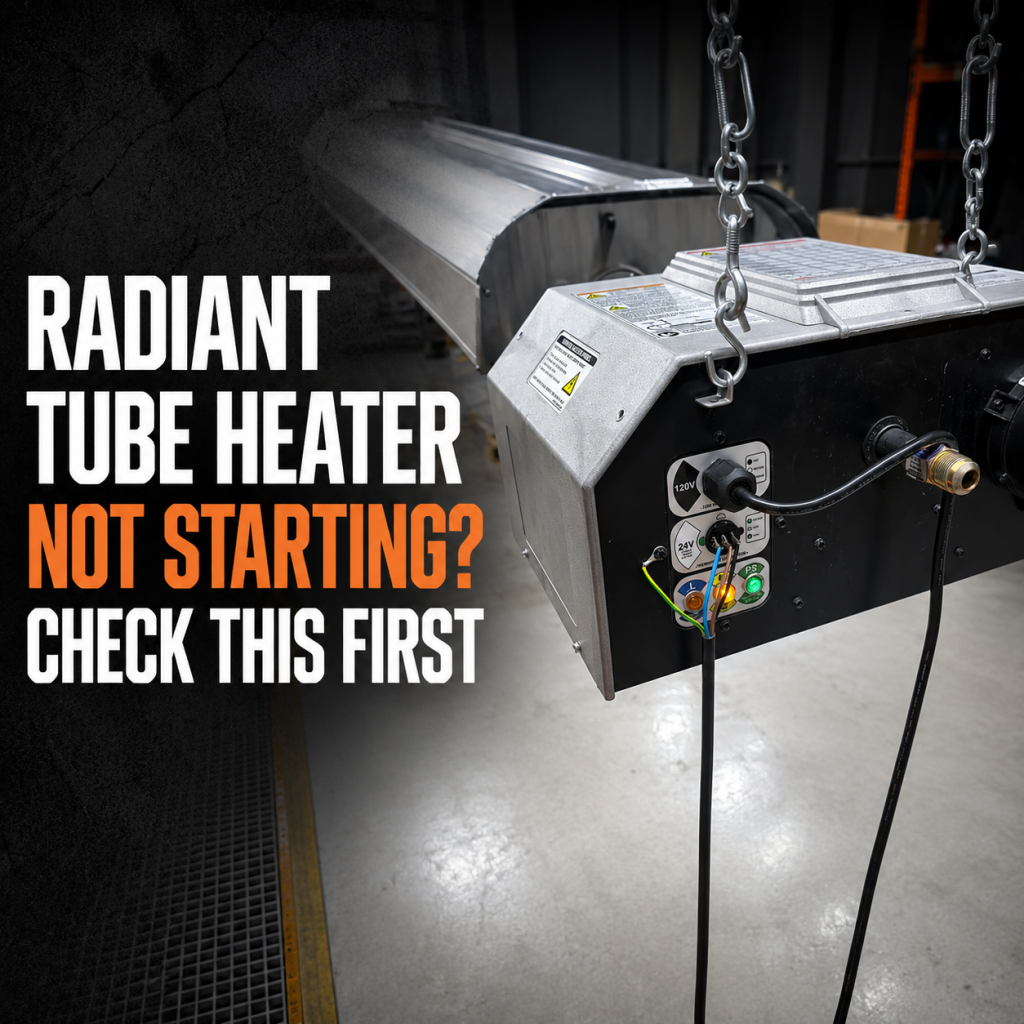
Radiant Tube Heater Not Starting? Check This First
Introduction
If a radiant tube heater is not starting, the first thing to confirm is simple: is the heater actually getting a call for heat?
That check matters because it tells you where to focus your troubleshooting. If the call for heat is present, the issue is likely inside the heater. If it is not, the problem is more likely related to the thermostat or the external field wiring.
This is the starting point for troubleshooting on Detroit Radiant Products heaters, and it is a quick test with a multimeter that can save a lot of time.
Why This Test Comes First
Before opening up a deeper HVAC troubleshooting process, you want to separate external control issues from internal heater issues.
In practical terms, that means answering one question:
- Is the thermostat and field wiring sending the proper signal to the heater?
If the answer is yes, then the heater is being told to run, and the fault is somewhere inside the unit. If the answer is no, there is no reason to chase internal components yet.
Detroit Radiant Products tests heaters before they leave the factory, so once a valid call for heat is confirmed, the next step is internal troubleshooting rather than questioning whether the control signal is present.
Wire Identification on the Heater
On the standard setup discussed here, there are four thermostat-related wires to identify:
- Green for ground
- Blue for 24 volt
- Brown for low fire
- Black for high fire
Getting these wire functions straight before testing is important, because the meter checks depend on the correct reference points.
How to Test for a call for heat with a multimeter
To properly verify the call for heat, use a multimeter and check for 24 volts across the appropriate terminals.
Standard heater wiring test
For the standard wiring arrangement, use the green ground wire as your reference and test each control wire against it.
- Test ground to 24 volt, which means green to blue.
- Test ground to low fire, which means green to brown.
- Test ground to high fire, which means green to black.
If you read 24 volts on all three, that confirms the heater is receiving a call for heat.
At that point, the thermostat and external wiring have done their job, and the troubleshooting path moves inside the heater.
What the readings mean
This test is not just about collecting voltage readings. It is about making a troubleshooting decision.
- 24 volts present where expected means the heater is being commanded to operate.
- No voltage or missing voltage points toward an issue with the thermostat or field wiring.
That distinction keeps you from wasting time on the wrong part of the system.
Testing a V2 model
For a V2 model, the process is very similar and follows the same color code.
- Green is ground
- Blue is 24 volt
- Black is high fire
- Brown is low fire
The testing approach stays the same. You are still verifying whether the unit is receiving the proper 24 volt call for heat through those control wires.
How the wiring changes when one thermostat controls multiple heaters
If you want to control multiple heaters from a single thermostat, the heaters need to be ordered with isolation relays installed inside them.
That changes the wiring slightly, and it also changes how you test for a call for heat.
Wiring with isolation relays
In this configuration:
- Blue becomes neutral
- Brown remains low fire
- Black remains high fire
Because of that change, you no longer test from ground to the control wires in the same way.
Meter checks for isolation relay setups
Instead, test:
- Blue to brown
- Blue to black
If both readings confirm 24 volts, then there is a valid call for heat. From there, any continued problem points to something deeper inside the heater that requires further troubleshooting.
A simple troubleshooting framework to follow
When a radiant tube heater is not firing, use this sequence:
- Identify the wiring configuration.
- Use a multimeter to check the correct wire pairs.
- Confirm whether 24 volts is present.
- If the call for heat is present, move to internal heater troubleshooting.
- If the call for heat is absent, inspect the thermostat and field wiring first.
That process keeps HVAC troubleshooting clean and efficient, especially when working on low fire and high fire radiant heating controls.
Final takeaway
Testing for a call for heat is the first and most important early check on a radiant tube heater that will not start. On a standard setup, test from green ground to blue, brown, and black. On a multiple-heater setup with isolation relays, test blue to brown and blue to black.
If the correct 24 volt readings are there, the thermostat signal is not the problem. That means it is time to look inside the heater for the cause.
Need Help Troubleshooting a Radiant Tube Heater That Won’t Start?
If your radiant tube heater is not firing, confirming whether the unit is getting a proper call for heat is one of the first checks to make.
At Great Lakes Radiant, we help walk through real-world radiant tube heater troubleshooting every day. From verifying 24V signals and thermostat wiring to reviewing low-fire/high-fire controls, isolation relay setups, burner operation, venting, clearances, and system layout, we’ll help you narrow down the issue and understand where to look next.
Whether you’re checking a standard Re-Verber-Ray heater, troubleshooting a V2 model, controlling multiple heaters from one thermostat, or trying to figure out whether the issue is inside the heater or in the field wiring, we’ll help you get it right the first time.
Send us photos, heater model information, wiring details, voltage readings, construction documents, or fill out our Project Details form — we’re here to help.
📞 (888) 501-0252
📧 sales@glradiant.com
🌐 www.glradiant.com