
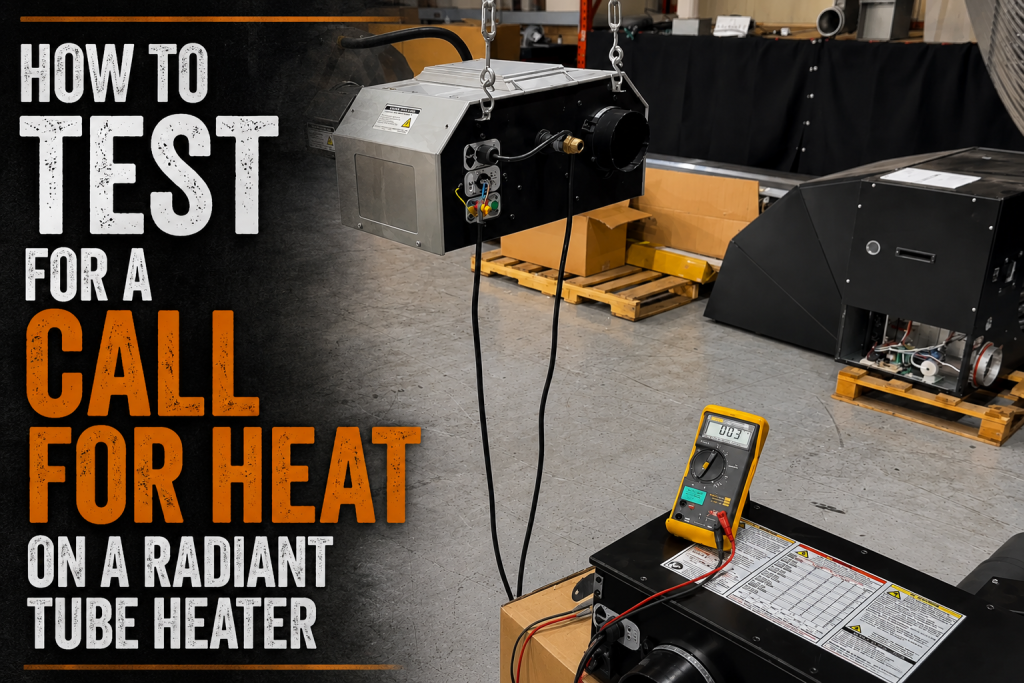
How to Test for a Call for Heat on a Radiant Tube Heater (24V)
Introduction
If a radiant tube heater will not start, the first troubleshooting step is to confirm that the unit is receiving a call for heat. This simple multimeter test helps separate an issue with the thermostat or external field wiring from a problem inside the heater itself on systems that utilize 24V low-voltage supply.
On a properly operating control circuit, 24 volts at the appropriate terminals confirms that the thermostat is calling for the heater to run. Once that call for heat is verified, troubleshooting can move deeper into the heater’s internal components.
Why checking for a call for heat comes first
A radiant tube heater depends on an external thermostat and low-voltage field wiring to initiate operation. If the thermostat is not calling for heat, or if the control wiring is not delivering the correct voltage, the heater cannot begin its normal ignition sequence.
Testing for a call for heat before investigating internal heater components prevents unnecessary troubleshooting. It answers one important question right away, is the issue stemming from the thermostat or a different portion of the heater.
Understanding the 24v V3 heater control wires
On a V3 radiant tube heater, the thermostat wiring connection includes four wires:
- Green: Ground.
- Blue: 24-volt supply.
- Brown: Low-fire signal.
- Black: High-fire signal.
The green ground wire serves as the reference point when checking voltage at the other terminals. The blue, brown, and black wires are then tested individually to confirm the heater is receiving its required 24-volt control signals.
How to test a 24v V3 radiant tube heater for a call for heat
Use a multimeter to test voltage between the green ground terminal and each of the remaining control terminals. With the thermostat calling for heat, perform the following checks:
- Test green to blue. Confirm 24 volts between ground and the 24-volt supply terminal.
- Test green to brown. Confirm 24 volts between ground and the low-fire terminal.
- Test green to black. Confirm 24 volts between ground and the high-fire terminal.
If the meter confirms 24 volts on all three tests, the heater has a call for heat. Since Detroit Radiant Products tests heaters before they leave the factory, a confirmed call for heat indicates that the next troubleshooting steps should focus on the internal heater controls and components.
Testing a V2 radiant tube heater
The V2 model follows a very similar process and uses the same wire color identification:
- Green: Ground.
- Blue: 24 volts.
- Black: High fire.
- Brown: Low fire.
Test from the green ground wire to the blue, black, and brown terminals. A 24-volt reading at each required point confirms that the heater is receiving a call for heat and that further diagnosis should take place within the unit.
Controlling multiple 24v heaters from one thermostat
When multiple heaters are controlled by one thermostat, the heaters must be ordered with isolation relays. Isolation relays change the field-wiring arrangement slightly, so the test points are different from a standard V2 or V3 setup.
With isolation relays installed, the wire functions are:
- Blue: Neutral.
- Brown: Low fire.
- Black: High fire.
Instead of using the green ground wire as the reference, test the following pairs:
- Blue to brown: Check for 24 volts at the low-fire circuit.
- Blue to black: Check for 24 volts at the high-fire circuit.
If both tests show 24 volts, the thermostat is successfully sending a call for heat through the isolation-relay wiring. At that point, continue troubleshooting inside the heater rather than replacing or adjusting the external thermostat wiring.
What the test results tell you
- 24 volts present at the correct terminals: The heater has a call for heat. Continue diagnosing the internal heater system.
- No 24-volt reading at one or more required terminals: The issue may be related to the thermostat, field wiring, or the external control circuit.
- Multiple heaters on one thermostat: Verify whether the heaters use isolation relays and test blue-to-brown and blue-to-black accordingly.
Always identify the specific heater model and wiring arrangement before testing. The correct terminal locations, wiring diagrams, and service information should be confirmed in the unit documentation. Refer to the applicable radiant tube heater installation manual for model-specific installation, operation, and maintenance guidance.
Final thoughts
Confirming a call for heat is a quick but essential first step when a radiant tube heater is not operating. A multimeter reading of 24 volts at the appropriate terminals confirms that the thermostat and field wiring are sending the command to run. That result makes it easier to focus the next stage of troubleshooting where it belongs: inside the heater.
Need Help Troubleshooting a Radiant Tube Heater?
If your radiant tube heater isn’t starting, confirming that it’s receiving a proper call for heat is one of the first checks to make.
At Great Lakes Radiant, we help with real-world radiant tube heater troubleshooting every day. From checking 24-volt control signals and thermostat wiring to identifying V2 and V3 configurations, isolation relays, low-fire and high-fire controls, and other heater components, we can help you narrow down the problem and determine where to look next.
Whether you’re troubleshooting a single heater, working with multiple heaters on one thermostat, or simply want to verify your wiring before digging deeper, we’ll help you get it right the first time.
Send us photos, heater model information, wiring details, voltage readings, construction documents, or fill out our Project Details form, we’re here to help.
📞 (888) 501-0252
📧 sales@glradiant.com
🌐 www.glradiant.com