
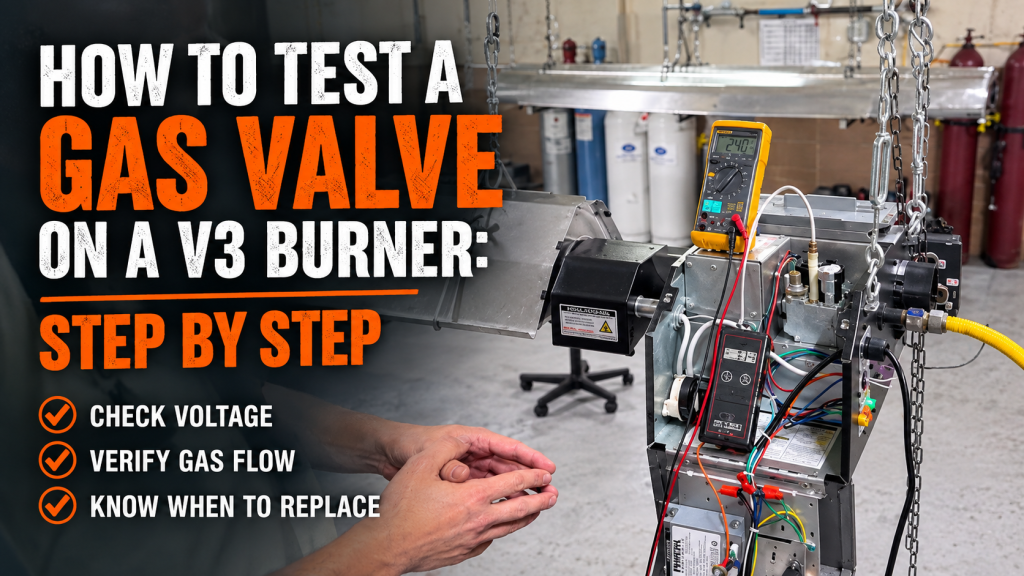
How to Test a Gas Valve on a V3 Burner: Step by Step
Introduction – What is a ‘V3’ Burner?
Detroit Radiant Products newest burner box design is referred to as the V3 Burner. This includes a service access door which can be opened while the unit is running for easier serviceability. This blog and video go over how to test a Gas Valve on these units.
If a V3 Series low intensity radiant heater is not firing or does not appear to be getting gas, the gas valve is an important component to check. The goal is straightforward: confirm the valve is receiving the correct electrical signal, then confirm it is actually allowing gas to flow through the heater.
This procedure applies after you have confirmed that the heater is connected to gas and has an active call for heat. Gas-fired equipment should only be serviced by qualified personnel following the manufacturer’s instructions and applicable local codes.
What You’ll Learn
- Test V3 Series gas valves for the proper voltage after the 30 to 45 second startup delay.
- Measure voltage at the valve terminals or at the circuit board gray valve wire.
- Use manifold pressure or flame presence to confirm the valve is passing gas.
- Replace the valve when it receives proper voltage but fails to allow gas flow.
What You Need to Test the Gas Valve
You will need a multimeter to verify voltage at the valve. A gas manometer is the preferred tool for confirming manifold pressure and gas flow. If a manometer is not available, flame presence can also provide a visual indication that gas is moving through the heater.
The expected gas valve voltage depends on the specific V3 burner model. DX3L and LS3 V3 burners use 24-volt gas valves, while the DES3 uses a 120-volt gas valve. Always verify the correct voltage for the specific heater being serviced.
Understand the Heating Sequence First
Once the heater has gas available and receives a call for heat, the unit begins its startup sequence. Approximately 30 to 45 seconds after startup, the circuit board sends power to the gas valve.
That timing matters. Test the valve during the sequence when the board should be energizing it. Checking before that point can lead to an incorrect diagnosis.
Test for Voltage Directly at the Gas Valve
The most direct place to test is at the gas valve itself. Locate the electrical terminals marked:
- M for main
- C for common
Insert one multimeter probe into the M terminal and the other probe into the C terminal. When the heater reaches the appropriate point in its ignition sequence, the gas valve should receive its specified operating voltage.
For DX3L and LS3 V3 burners, expect approximately 24 volts. For the DES3, expect 120 volts.
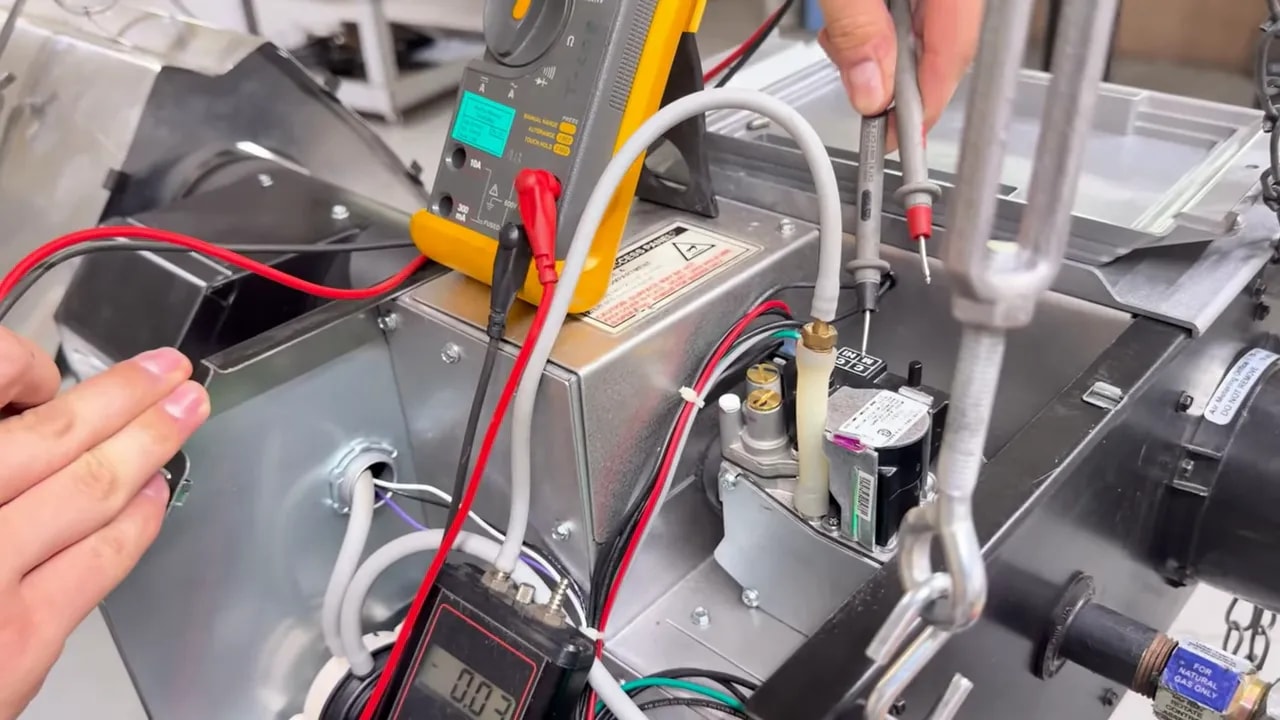
Caption: Check voltage across the gas valve main and common terminals as the heater enters its firing sequence. This measurement confirms whether the control system is actually sending the command to open the valve.
Test Voltage at the Circuit Board
You can also verify the valve signal at the circuit board. Look for the gray wire, which corresponds to the valve connection.
- Place one multimeter probe into the gray-wire connection.
- Place the other probe on a suitable ground.
- Allow the heater to proceed through its startup sequence.
Shortly afterward, the low-fire indicator light should turn on. At that point, the meter should indicate that the appropriate voltage is being sent from the circuit board to the gas valve.
For DX3L and LS3 V3 burners, this should be approximately 24 volts. On the DES3, the gas valve signal should be 120 volts.
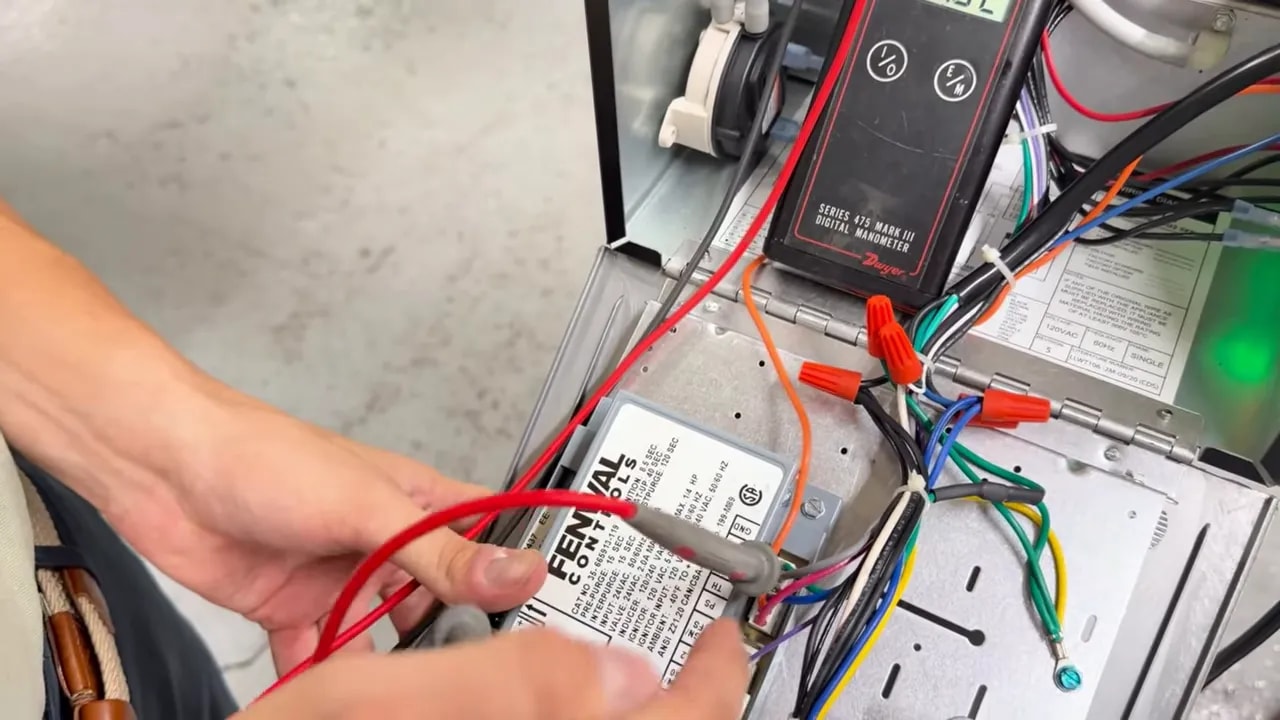
Caption: The gray valve wire at the circuit board provides another place to confirm the gas valve signal.
Confirm That Gas Is Flowing
Voltage alone does not prove that the valve is opening and passing gas. Once power is confirmed, verify gas flow through the heater.
The best method is to connect a gas manometer to the manifold pressure port. Manifold pressure indicates that gas is flowing down the heater.
If a manometer is not available, check for flame presence on the other side of the starter tube. Flame presence provides a practical visual confirmation that the valve has opened and gas is moving through the system.
How to Determine Whether the Gas Valve Is Bad
The diagnosis comes down to comparing the electrical command with the actual result:
- Correct voltage at the valve and gas flow is present: The gas valve is responding to the control signal.
- Correct voltage at the valve but no gas flow is present: The gas valve may need to be replaced.
The correct voltage depends on the burner model. DX3L and LS3 V3 burners use 24-volt gas valves, while the DES3 uses a 120-volt gas valve.
Replacing a Faulty Gas Valve
If the valve is receiving the correct electrical signal but is not allowing gas to flow, replace it using the appropriate service procedure.
- Remove the two screws securing the gas valve to the base of the unit.
- Remove the two quarter-inch screws holding the service access panel.
- Disconnect the gas connection.
- Remove the old valve.
- Install the replacement valve.
Use the correct replacement part for the heater and verify proper operation after the repair is complete.
A Quick Gas Valve Troubleshooting Checklist
-
- Confirm the heater is connected to gas.
- Confirm there is a call for heat.
- Wait 30 to 45 seconds for the circuit board to send the valve signal.
- Test between the M and C terminals at the gas valve.
- Alternatively, test the gray valve wire at the circuit board to ground.
- Confirm the proper voltage for the specific burner model.
- DX3L and LS3 V3 burners: 24V gas valve
- DES3: 120V gas valve
- Confirm manifold pressure with a manometer or check for flame past the starter tube.
If the gas valve receives the proper voltage but does not allow gas to flow, the gas valve may need to be replaced.
Need Help Troubleshooting a Radiant Heater Gas Valve?
If your V3 Series radiant heater isn’t firing or doesn’t appear to be getting gas, testing the gas valve can help narrow down the problem. If you’re not sure what you’re seeing or need the correct replacement valve or parts, Great Lakes Radiant can help.
We provide radiant heating equipment, replacement parts, and technical support for contractors and heating professionals.
📞 (888) 501-0252
📧 sales@glradiant.com
🌐 www.glradiant.com