
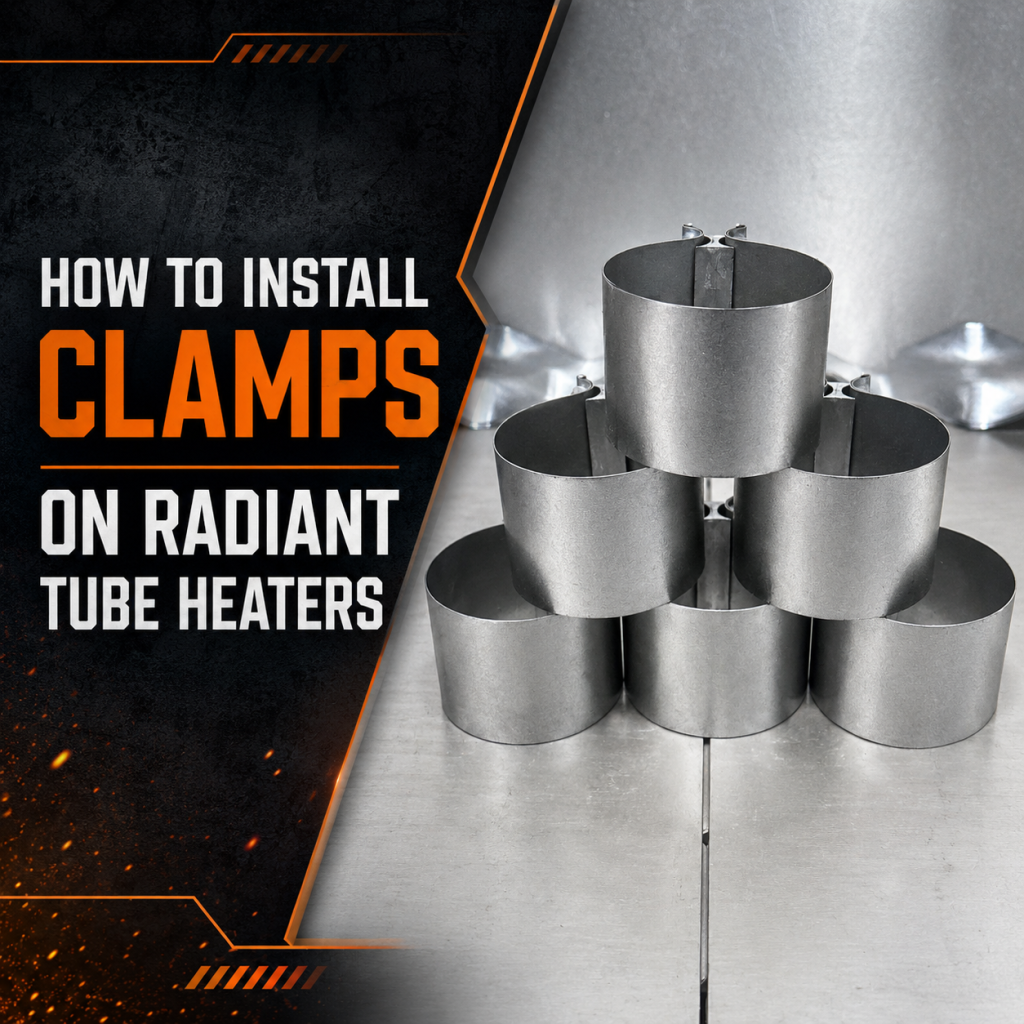
How to Install Clamps on Radiant Tube Heaters
Introduction
Getting the tube clamps right on a Re-Verber-Ray radiant tube heater is a small detail that matters more than people think. The correct clamp material, the correct location, and the correct torque all help the system hold up better under heat and operate the way it was designed to.
If you are installing Detroit Radiant Products systems, especially in shops, garages, warehouses, or other large indoor spaces, this is one of those items worth slowing down for. A lot of clamp issues come from using the right part in the wrong place.
Why Tube Clamps Matter
Tube clamps are there to secure the tube connections, support the system properly, and help prevent problems caused by vibration and heat over time. On infrared tube heaters, the temperature changes across the system are not all the same. The hottest part of the tube run needs the right clamp material so it does not break down prematurely.
That is why clamp selection is not just about fit. It is also about heat tolerance.
The Two Clamp Types You Need to Know
On these radiant tube heater systems, the clamp type depends largely on the heater size.
1. Aluminized steel clamp for smaller systems
If the system is under 150,000 BTUs, you will generally use the same style clamp throughout the installation.
- Material: aluminized steel
- Typical size: 4 inch diameter
- Use case: standard clamp arrangement on systems below 150,000 BTUs
For these lower input systems, clamp selection is usually straightforward. The main thing is to follow the installation instructions and tighten them to the specified torque.
2. Stainless steel clamp for higher BTU systems
Once you move into 150,000 BTUs and above, you may need a stainless steel clamp in a specific location.
- Material: stainless steel
- Use case: higher heat areas on larger systems
- Why it matters: stainless steel holds up better where tube temperatures are highest
This is where installation mistakes become common. The issue is usually not that the wrong clamp was supplied, but that it was installed in the wrong spot.
When The Stainless Steel Clamp is Required
For these systems, the higher BTU models typically begin at 40 feet and above. At that length, you may be working with:
- 150,000 BTU units
- 175,000 BTU units
- In some longer configurations, up to 200,000 BTU units
Not every tube heater layout uses the same clamp arrangement, so this is where the manual becomes important. The key is not to rely on habit or assume the clamp goes nearest the burner because that is a very common error.
Where The Stainless Steel Clamp Actually Goes
On the larger systems that call for a stainless steel clamp, it belongs after the first 10 foot tube.
That is the location identified in the insert manual, and it is the spot intended to handle the highest heat exposure in the tube run.
The mistake that shows up all the time is placing that stainless steel clamp immediately after the burner box. That may seem logical at first glance, but that is not where the manual calls for it.
If the clamp is installed in the wrong location, you lose the benefit of putting the heat resistant material where it is actually needed most.
Why Location Matters So Much
The reason for using stainless steel is simple. It can tolerate more heat.
On a high BTU infrared tube heater, the hottest section of the system needs a clamp that will not deteriorate under elevated temperatures. If the stainless steel clamp is moved to the wrong point in the run, the area that really needs that added heat resistance is left with less protection.
Over time, that can affect durability and service life.
Do Not Skip the Torque Requirement
Another detail that deserves attention is clamp torque. These clamps are not meant to be tightened by feel alone.
Make sure you check the installation manual for the required foot pound torque specification and tighten each clamp accordingly. That helps ensure a secure connection without under tightening or over tightening the hardware.
Even when the clamp type and location are correct, ignoring the torque requirement can still create problems.
Use the Insert Manual, Not Just the General Heater Manual
This is one of the biggest takeaways.
If you are trying to confirm which clamp to use and where it belongs, look in the insert manual for that specific heater, not just the general tube heater manual. The insert manual is where the clamp material and placement notes are called out for the actual model and configuration.
That is the best way to avoid guessing, especially on 40 foot and longer systems where BTU options can vary.
Quick Clamp Installation Checklist
- Confirm the heater input rating before installing clamps.
- If the system is under 150,000 BTUs, use the standard aluminized steel clamp setup.
- If the system is 150,000 BTUs or higher, verify whether a stainless steel clamp is required.
- Place the stainless steel clamp after the first 10 foot tube when specified.
- Do not place the stainless steel clamp right after the burner box unless the manual specifically instructs it.
- Use the insert manual for the exact clamp placement guidance.
- Tighten clamps to the specified foot pound torque.
Final Thoughts
Installing clamps on radiant tube heaters is not complicated, but it does reward accuracy. On Re-Verber-Ray systems from Detroit Radiant Products, the difference between an aluminized steel clamp and a stainless steel clamp is not just a material upgrade. It is part of how the system handles heat where it counts.
Check the BTU rating, use the insert manual, put the stainless steel clamp after the first 10 foot tube when required, and torque everything properly. Those simple steps go a long way toward better heater performance, reduced wear, and a cleaner installation overall.
Need Help Installing or Troubleshooting a Radiant Tube Heater?
If you’re working through a radiant tube heater installation, small details like clamp material, placement, torque, and model-specific instructions can make a big difference.
At Great Lakes Radiant, we help walk through real-world radiant heating applications every day. From reviewing heater models and BTU ratings to confirming tube layouts, clamp locations, baffle requirements, clearances, venting, and installation details, we’ll help you make sure the system is put together the right way.
Whether you’re installing a new Re-Verber-Ray system, double-checking stainless steel clamp placement, troubleshooting a field issue, or trying to avoid mistakes before the heater goes up, we’ll help you get it right the first time.
Send us photos, dimensions, heater model information, construction documents, or fill out our Project Details form — we’re here to help.
📞 (888) 501-0252
📧 sales@glradiant.com
🌐 www.glradiant.com