
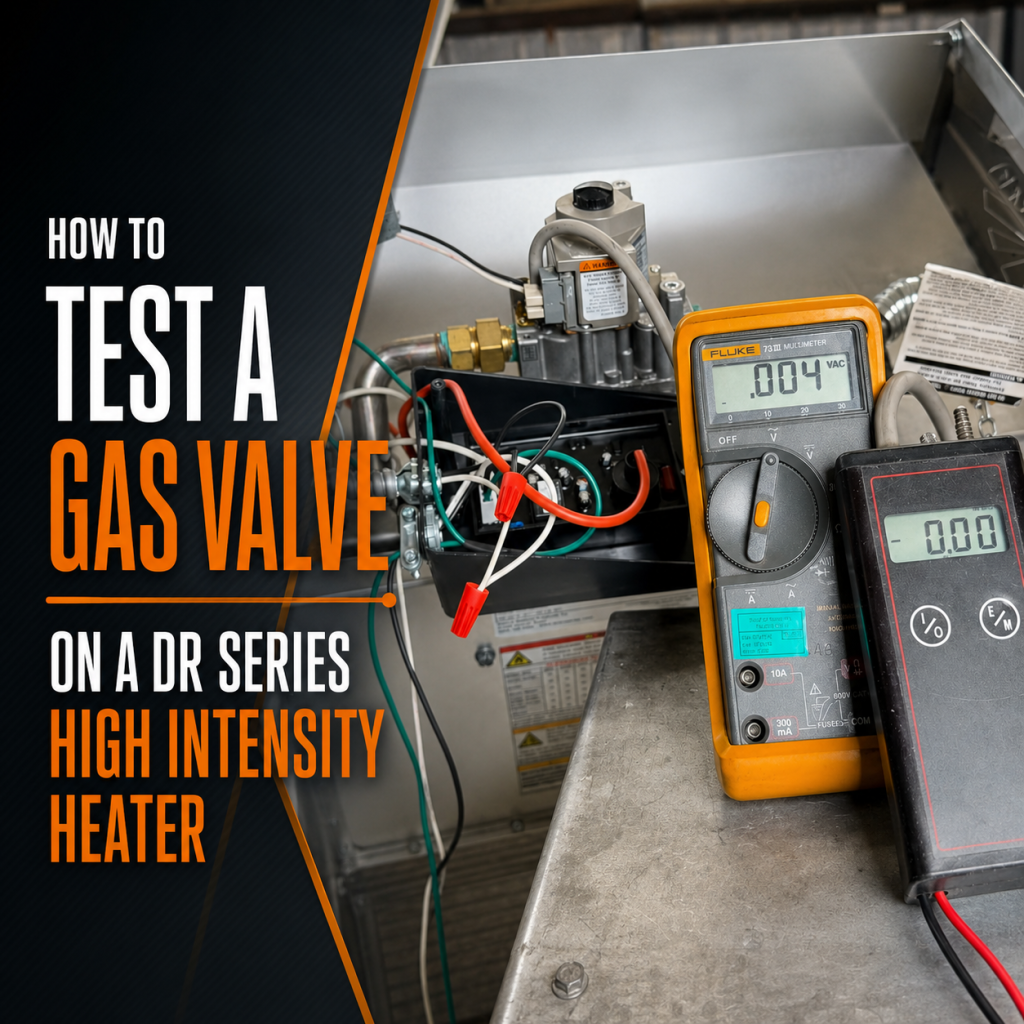
How to Test a Gas Valve on a DR Series High Intensity Heater
Introduction
If you need to figure out whether a DR Series radiant tube heater has a bad gas valve, the process is straightforward when you use the right tools and check both power and gas flow. The key is not guessing. You want to confirm whether the valve is actually being energized and whether gas is moving through it.
On a DR Series heater, a proper gas valve test comes down to two things:
- Electrical input to the valve
- Gas flow through the valve
When both are present, the valve is doing its job. If power is present but gas flow is not, that points to a failed valve.
What You Need
Before testing the gas valve, gather the following:
- Phillips head screwdriver
- 3/16 inch Allen key
- Brass barb fitting
- Manometer
- Multimeter
These tools let you access the valve, connect to the pressure port, and verify voltage going to the gas valve.
Step 1: Access the Valve Connections
Start by removing the cover on the circuit board. This gives you access to the components involved in sending power to the gas valve.
Next, remove the Phillips head screw that protects the power going into the valve. Once that screw is out, you can move on to the pressure test connection.
Step 2: Connect the Manometer
Insert a 3/16 inch Allen key into the plug and remove it. After that, install a brass barb in its place.
Once the brass barb is installed, connect it to your manometer. This will allow you to check for gas flow when the heater is operating.
This part matters because voltage alone does not tell the whole story. A valve can be receiving power, but if it is not opening and allowing gas through, it is still faulty.
Step 3: Turn the Heater On
With the manometer connected, turn the heater on and let the system call for operation.
At this point, you are checking whether the heater is sending the proper electrical signal to the valve and whether the valve is allowing gas flow at the same time.
Step 4: Test Voltage at the Gas Valve
Take your multimeter and place the two probes on the black and white wires going to the valve.
On a standard DR Series setup shown here, you should see 120 volts going directly to the valve.
If your meter shows 120 volts, that confirms the valve is receiving the electrical command it needs to open.
Step 5: Read the Results Correctly
Now combine the multimeter reading with the manometer reading.
If you have voltage and gas flow
If the meter shows the proper voltage and the manometer shows gas flow, the valve is good. In that case, the gas valve does not need to be replaced.
If you have voltage but no gas flow
If the meter shows power going to the valve, but the manometer does not show flow, that indicates the valve is bad and should be replaced.
This is the most important troubleshooting point in the whole process. A valve that is energized but not passing gas has failed mechanically or internally.
24 Volt DR Series Heaters
If you are working on a 24 volt style series, the procedure stays the same.
You still:
- Remove the necessary cover and access points
- Install the brass barb
- Connect the manometer
- Turn the heater on
- Check voltage at the valve wires
The only difference is the expected voltage. Instead of looking for 120 volts, you should be looking for 24 volts.
Simple Troubleshooting Logic for a DR Series Gas Valve
When diagnosing a gas valve on a high intensity heater, keep the decision process simple:
- Power present + gas flow present = valve is good
- Power present + no gas flow = valve is bad
This approach helps prevent unnecessary part replacement and gives you a clear, repeatable way to troubleshoot a DR Series heater.
Final Takeaway
Testing a gas valve on a DR Series radiant tube heater is really about verifying both sides of valve operation. The multimeter tells you whether the valve is being told to open. The manometer tells you whether it actually is opening and allowing gas through.
Once you confirm those two readings, you can make a confident call on whether the gas valve is working properly or needs replacement.
Need Help Troubleshooting a DR Series Radiant Heater?
If you’re trying to determine whether a DR Series heater has a bad gas valve, checking both voltage and gas flow is the right place to start.
At Great Lakes Radiant, we help walk through real-world radiant heater troubleshooting every day. From verifying power to the gas valve to checking manometer readings, burner operation, ignition issues, controls, wiring, and fuel supply, we’ll help you narrow down the problem and avoid unnecessary part replacement.
Whether you’re working on a 120V DR Series heater, a 24V setup, or you’re unsure whether the issue is the valve, wiring, or gas supply, we’ll help you get it right the first time.
Send us photos, heater model information, voltage readings, gas pressure readings, or fill out our Project Details form, we’re here to help.
📞 (888) 501-0252
📧 sales@glradiant.com
🌐 www.glradiant.com